A while ago I was asked if I would detail my technique for painting skin areas on miniatures and so below I present photos and captions that will illuminate my deepest painting secrets.
Before we begin it's worth mentioning that this technique is something that has slowly evolved and that I find produces the easiest and most pleasing results for me personally. If you're not averse to using enamels then by all means give it a try.
Humbrol enamel paints, being 34 Matt White, 60 Matt Scarlet, 61 Matt Flesh, and 62 Matt Leather. Burnt Umber artist's oil paint. Dulux Quick Dry metal primer. You will also need some thinners (turpentine) both for thinning paint and washing brushes.
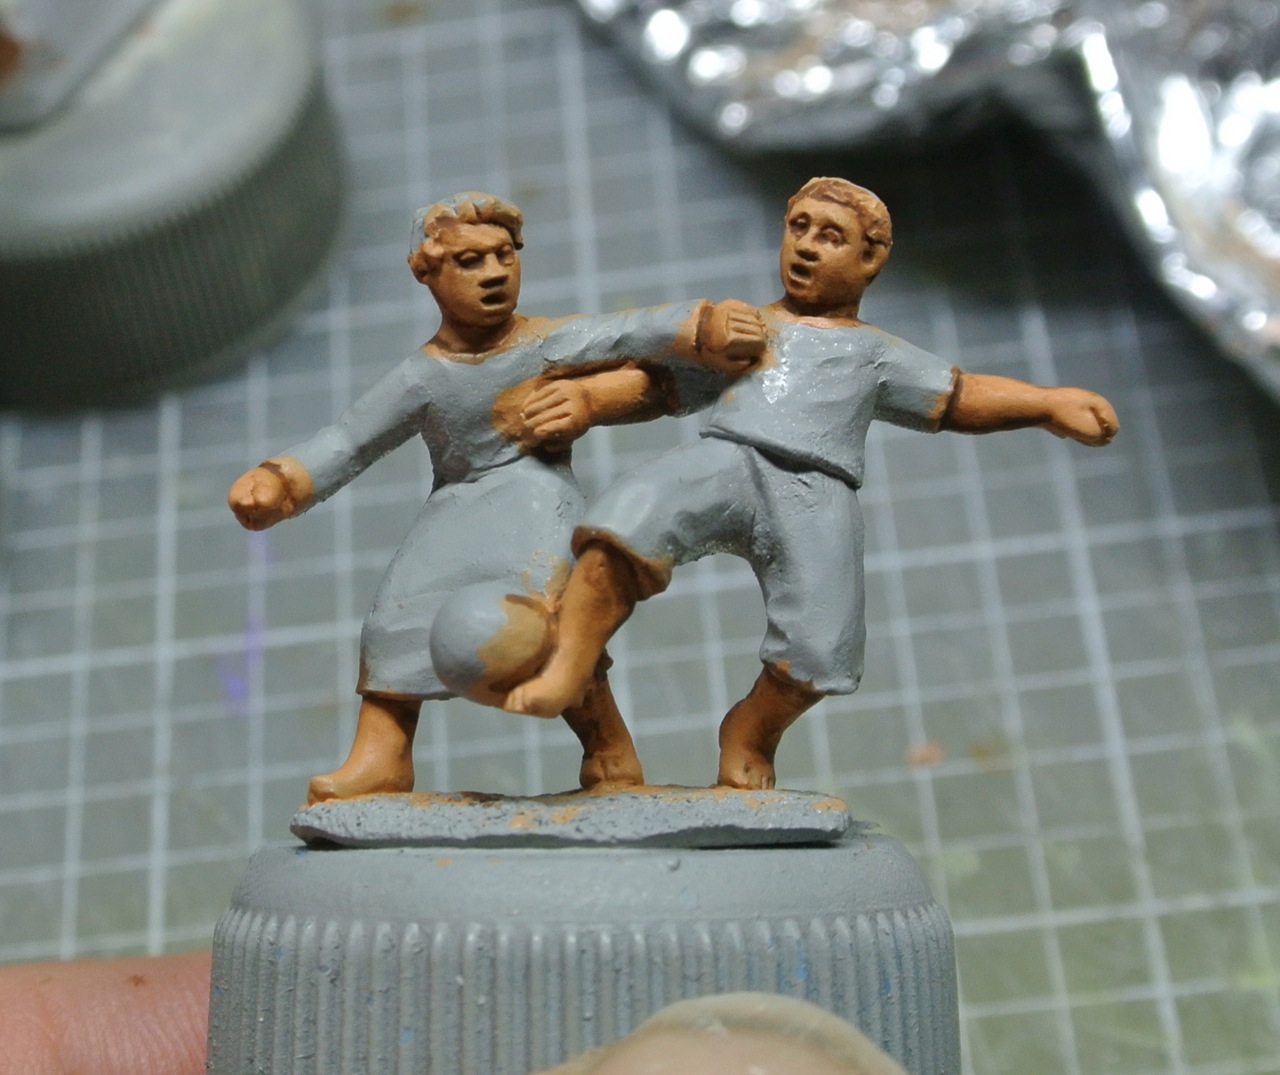
After undercoating, apply the base colour for the flesh areas. I'll call the three basic skin tones "light", "medium" and "dark". Base colours from L to R : Light skinned female 34 White + 61 Flesh. Light skinned male 61 Flesh. Medium skinned male 61 Flesh + 62 Leather. Dark skinned male, 62 Leather.
I usually apply two thin coats. The second coat must be fully cured before the next step.
Squeeze a small amount of the Burnt Umber oil paint onto a piece of cardboard, and let it sit for 5 -10 minutes. This will drain some of the oil out, allowing the paint to dry more quickly and with more of a matt finish. For shading a light skinned figure, mix the Burnt Umber with some 62 Leather and thin with turpentine. Using the thinned mixture, block in the areas where the shadows will be. You don't need to be too neat.
Now this is the fun bit. Moisten a clean, fine brush with a small amount of turpentine. Dab most of the turpentine off. Using the tip of the bush, feather and soften the shadow tone, fading it into the base tone. You only need a small amount of turps on the brush, and wash the brush in turps after feathering every small area. In the above photo you'll see the result of this feathering. If you remove too much of the shadow tone you can apply a little more and until you're happy with the amount of contrast.
So just to repeat what the technique is, the above photo shows the shadow areas blocked in with the mixture (burnt umber oil paint + Humbrol 62 leather)
... and here the shadow colour has been feathered into the base colour.
The same approach is used on darker skin tones, only the shadow tone is pretty much just thinned burnt umber oil paint. Block in the shadow areas
... then feather the edges to get rid of the hard demarcation.
After the skin areas are done my next step is to line in all the overlapping bits of clothing and also put a black line between cloth and skin areas, being careful not to get any black on the skin bits. I use a black acrylic for this. Obviously if you use a black undercoat you won't need this step, but I generally use a grey undercoat because it causes fewer hassles when using bright colours later on.
I forgot to add that there are some small touches needed to complete the face and hands. A little pink (61 Flesh + a tiny bit of 60 Scarlett) applied to the lower lip and cheeks. Miniatures of both males and females will benefit from this, though it really is crucial for female miniatures. Feather the edges of the pink on the cheeks to get a soft effect.
Some thin Burnt Umber lines between the fingers are added too.
And there you have it! Now the clothing areas can be blocked in, then shading started. I use acrylics for the clothing and equipment, with different tones being built up in a number of glazes.
I hope this tutorial will be useful to anyone thinking of moving back in time to use oils and enamels. The longer drying time makes these paints pretty forgiving and speaking personally more fun for some jobs. Remember to work in a well-ventilated area when using oils, turps and enamels.